Exploring Life’s Journey Alone at Every Age

As a passionate solo traveler, I’ve always believed that photography is like capturing moments in time, preserving them forever in a single frame.
In my adventures through the lens, I’ve discovered the secrets to taking stunning photos while exploring the world alone.
Join me on this journey as I share invaluable advice on choosing the best cameras for solo travel, essential tips for capturing breathtaking shots, and techniques for using self-timers and tripods to create unforgettable memories.
Let’s embark on this photographic odyssey together!
Key Takeaways
- Consider the size, weight, and durability of the camera when choosing one for solo travel photography.
- Look for cameras with interchangeable lenses, built-in Wi-Fi or Bluetooth, and good low-light performance.
- Pack a lightweight and compact camera that fits easily into your backpack.
- Invest in a versatile lens and pay attention to composition, lighting, and angles for visually appealing shots.
Choosing the Right Camera for Solo Travel Photography
When choosing the right camera for solo travel photography, it’s important to consider its size and weight for convenience. As a solo traveler, you want a camera that is compact and lightweight, making it easy to carry around during your adventures.
Look for cameras with interchangeable lenses, as they offer versatility in capturing different types of shots. Additionally, consider the camera’s image quality and low-light performance to ensure your photos turn out stunning even in challenging lighting conditions.
Features such as built-in Wi-Fi or Bluetooth connectivity can also be advantageous for quickly transferring and sharing your photos on social media platforms.
Now that you have chosen the perfect camera, let’s dive into some essential tips for capturing stunning solo travel photos.
Essential Tips for Capturing Stunning Solo Travel Photos
To capture stunning solo travel photos, make sure to pack a lightweight camera that fits easily into your backpack. Opt for a mirrorless or compact camera that delivers high-quality images without weighing you down. Look for features like image stabilization and low-light capabilities to enhance your photography in various environments. Additionally, invest in a versatile lens, such as a wide-angle or zoom lens, to capture different perspectives and details during your travels.
When shooting solo travel photos, composition is key. Take time to scout locations and frame your shots thoughtfully. Consider the rule of thirds, leading lines, and points of interest within the frame to create visually appealing images.
Lighting can greatly impact the outcome of your photos. Take advantage of golden hour – the period shortly after sunrise or before sunset – when lighting is soft and warm. Experiment with different angles and positions to make the most of natural light.
Lastly, don’t forget about self-timers! In the next section, I will share tips on how to master self-timers and take perfect solo travel selfies for memorable moments on your journey.
Mastering the Art of Self-Timers: How to Take Perfect Solo Travel Selfies
Make sure you position yourself correctly and use a stable surface or tripod to capture perfect solo travel selfies with self-timers. Self-timers are a fantastic tool for solo travelers who want to include themselves in their travel photos.
To get the best results, find a well-lit spot and set up your camera on a sturdy surface or tripod. Make sure the camera is at eye level for flattering angles. Set the timer, get into position, and strike your best pose!
Remember to experiment with different backgrounds and perspectives to add variety to your shots. With self-timers, you can capture beautiful memories of your solo adventures without relying on strangers to take your photos.
Now, let’s dive into exploring the world through your lens: a guide to solo travel photography.
Exploring the World Through Your Lens: A Guide to Solo Travel Photography
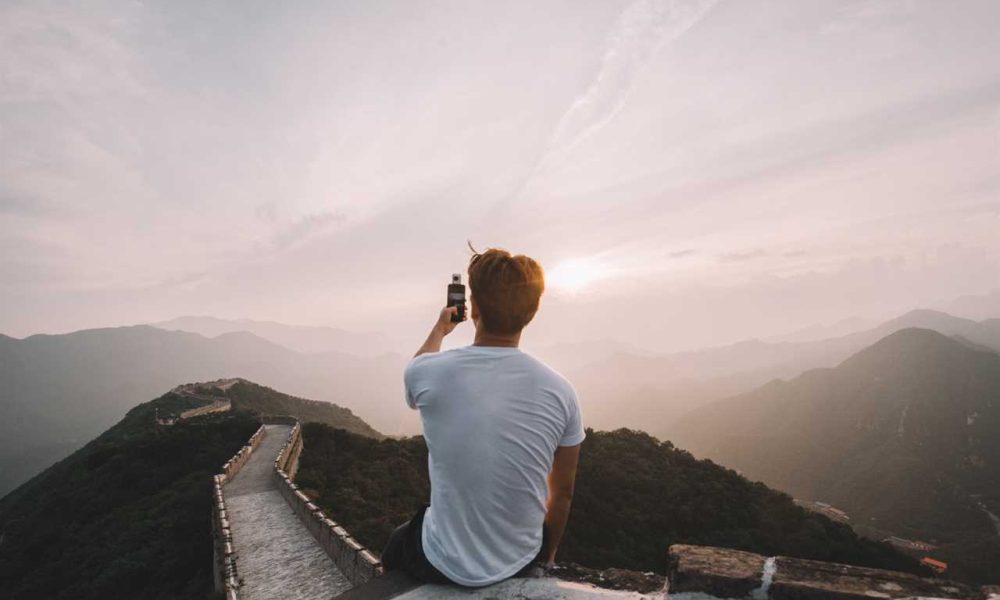
Exploring the world through your lens can be a transformative and enriching experience for solo travelers who want to capture their adventures.
As a seasoned solo traveler and photography enthusiast, I understand the importance of capturing those precious moments on your journey.
When it comes to choosing the best camera for solo travel, I recommend opting for a lightweight mirrorless camera that offers excellent image quality and versatility. Additionally, make sure to pack extra batteries and memory cards to avoid running out of power or storage space.
To enhance your solo travel photography, consider using self-timers and tripods. These tools allow you to be in the frame while still capturing stunning landscapes or cityscapes. By investing in a wireless remote shutter release, you can easily take self-portraits without any hassle.
Unleashing Your Creativity: Composition Techniques for Solo Travel Photography
Unleash your creativity in solo travel photography by mastering composition techniques that will elevate your photos to the next level. Here are four essential tips to help you capture stunning images during your adventures:

-
Rule of Thirds: Divide your frame into a 3×3 grid and position key elements along these lines or at their intersections. This creates balance and visual interest.
-
Leading Lines: Incorporate natural or man-made lines, such as roads, rivers, or fences, to guide the viewer’s eye through the photo and add depth.
-
Framing: Utilize natural frames like archways, doorways, or tree branches to draw attention to your subject and create a sense of depth within the image.
-
Negative Space: Embrace empty spaces around your subject for a minimalist feel that emphasizes their importance and adds a sense of tranquility to the overall composition.
The Power of Tripods: Enhancing Your Solo Travel Photography Experience
Now that you’ve mastered composition techniques for your solo travel photography, it’s time to take your skills to the next level by exploring the power of tripods.
As a solo traveler, a tripod can be your best friend when it comes to capturing stunning images. It provides stability and helps eliminate camera shake, allowing you to achieve sharpness in every shot. Whether you’re shooting landscapes or self-portraits, having a tripod ensures consistent results.
When selecting a tripod for solo travel, consider factors like weight, size, and durability. Look for lightweight and compact options that won’t weigh you down on your adventures. Additionally, opt for tripods with sturdy materials such as carbon fiber or aluminum.
Using a tripod opens up endless possibilities for creativity in your photography. You can experiment with long exposure shots of flowing waterfalls or capture breathtaking night skies filled with stars. With the stability provided by a tripod, even intricate compositions and macro shots become accessible.
Don’t forget to bring along a remote shutter release or utilize the self-timer function on your camera when using a tripod for self-portraits. This way, you can position yourself in the frame and ensure perfect timing without rushing back and forth between the camera.
Investing in a quality tripod will greatly enhance your solo travel photography experience. So go ahead, embrace its power and watch as it takes your images to new heights!
Preserving Memories: Editing and Organizing Solo Travel Photos
When editing and organizing your solo travel photos, it’s important to create a system that allows you to easily locate and showcase your cherished memories. Here are four tips to help you preserve those special moments:
-
Create folders: Start by organizing your photos into folders based on location, date, or theme. This will make it easier to find specific photos later on.
-
Use keywords: Add descriptive keywords to each photo, such as the name of the place or an activity captured in the image. This will enable you to search for specific photos using these keywords.
-
Edit with purpose: Take the time to edit your photos and enhance their quality. Adjust brightness, contrast, and saturation levels to bring out the best in each image.
-
Backup regularly: Always make backups of your edited and organized photos. Whether it’s cloud storage or an external hard drive, having a backup ensures that you won’t lose those precious memories.
Frequently Asked Questions
What Are Some Recommended Accessories for Solo Travel Photography?
Some recommended accessories for solo travel photography include a lightweight tripod for stability, a remote shutter release to avoid camera shake, and extra memory cards to capture all those amazing moments.
How Can I Ensure the Safety of My Camera Equipment While Traveling Alone?
To ensure the safety of my camera equipment while traveling alone, I always carry a sturdy camera bag, use lens caps and filters, secure my gear with straps or locks, and avoid leaving it unattended.
Are There Any Specific Settings or Techniques That Can Help Me Capture Better Landscape Photos While Traveling Solo?
To capture stunning landscape photos while traveling solo, I recommend using a wide-angle lens to capture the breadth of the scenery. Experiment with different perspectives and compositions, and don’t forget to make use of natural light for breathtaking results.
What Are Some Tips for Capturing Candid Moments of Locals or Wildlife While Traveling Alone?
To capture candid moments of locals or wildlife while traveling alone, I recommend using a telephoto lens for distance, shooting in burst mode to capture multiple frames, and staying patient to wait for those perfect unposed moments.
How Can I Overcome the Challenge of Taking Self-Portraits in Crowded Tourist Areas While Traveling Solo?
To overcome the challenge of taking self-portraits in crowded tourist areas while traveling solo, I recommend finding less crowded spots nearby, using a tripod or a selfie stick with a remote control, and asking fellow travelers for help.